


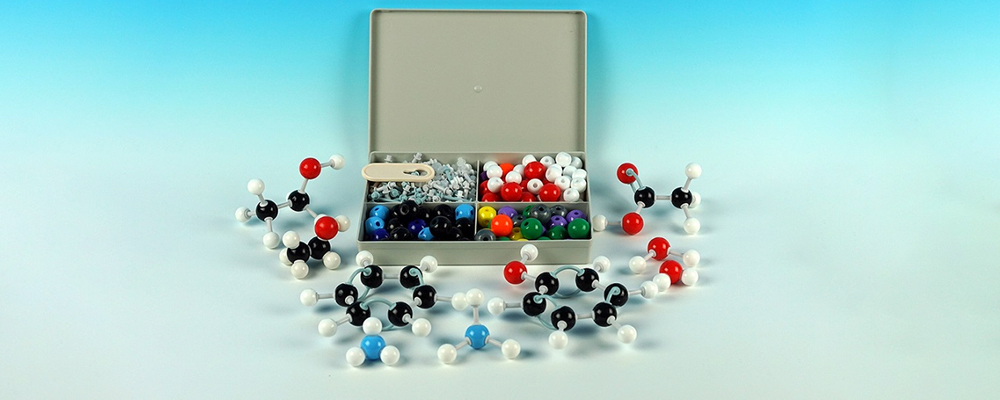
What’s the Best Organic Chemistry Model Kit? Top Picks & Alternatives
Taking an organic chemistry class needs a lot of preparation, and reading textbooks isn’t enough. A molecular model kit is an essential tool for any student
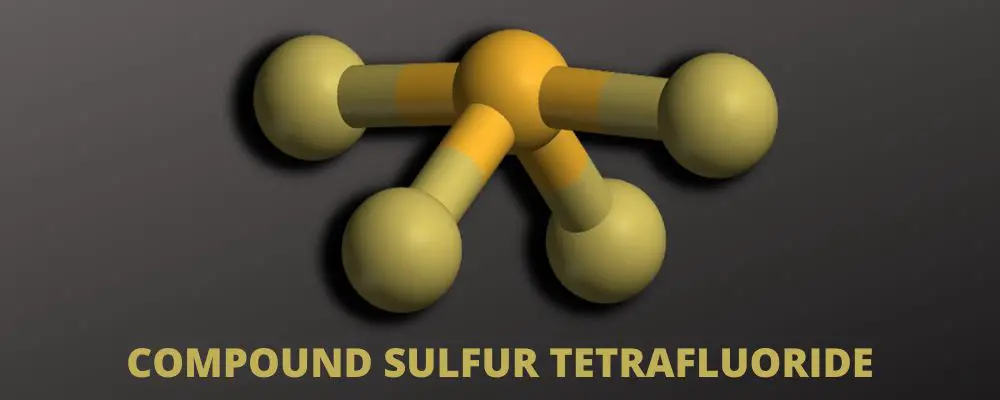
Sulfur Tetrafluoride – Total Lone Pairs Of Electrons On Each S Atom
SF4 is known as the compound Sulfur Tetrafluoride – a colorless corrosive gas. SF4 is utilized in the synthesis of the organofluorine compound. In molecular
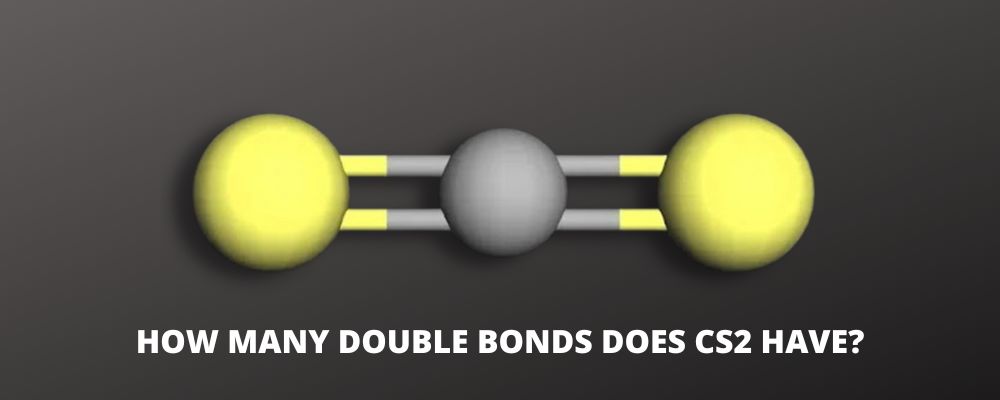
CS2 Lewis Structure – Number of Double Bonds Illustrated
Carbon disulfide (CS2) is an extremely volatile, flammable, odorous, and colorless compound. But, how many double bonds does CS2 have? For a more concise discussion

Electron Pair Geometry vs Molecular Geometry – Key Differences Explained
Molecular geometry and electron geometry in chemistry are how atoms are arranged around a center in a three-dimensional space. This arrangement provides the familiar molecular
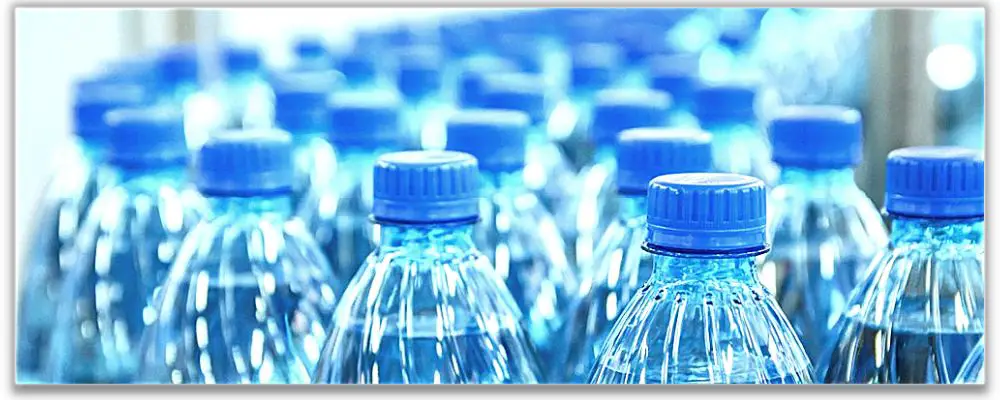
What’s the Best Hydrogen Water Bottle? Reviews & Buying Guide
Proper hydration is essential to maintain a healthy body and supple skin. Drinking water with dissolved hydrogen gas (H2) has become more than just a

Determining Polar & Nonpolar Molecules In 3 Steps
Polarity is one of the properties of a compound related to other properties such as boiling and melting point, solubility, and molecular interactions between molecules.

C2H2 Lewis Structure: Explained (2023 Updated)
Ethyne (C2H2), commonly known as Acetylene, is a gaseous alkyne hydrocarbon. It is a chemical compound widely used as a fuel in oxyacetylene welding and

10 Best Science Kits For 6-Year-Olds Reviewed (2023 Updated)
Getting our kids excited about science is something we should do in our own way. Having fun with science is a great way to introduce
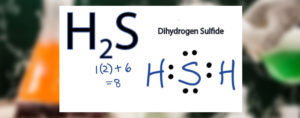
H2S Lewis Structure: About Hydrogen Sulfide (2023 Updated)
The hydrogen sulfide chemical formula is H2S. It’s toxic and explosive, with the smell like rotten eggs. Additionally, it endangers the ecology. For more details
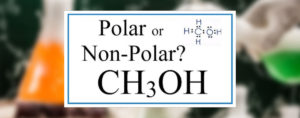
Is CH3OH Polar or Non-polar? (2023 Updated)
The simplest kind of alcohol is methanol, which has a methyl group connected to the hydroxyl group. Methanol is colorless and has an odor that

SO3 Lewis Structure: About Sulfur Trioxide (2023 Updated)
SO3 is the formula for the chemical compound Sulfur Trioxide. This chemical compound plays a vital role in producing sulfuric acid for industrial purposes. But,

15 Best STEM Toys for 9-Year-Olds (2023 Updated)
Kids are naturally curious and like to explore everything around them. It is important to provide them with instruments to encourage this natural curiosity and